
RETECHNOLOGY PREMIUM MARKETPLACE RELATED PRODUCTS | WEBINARS | SPECIAL OFFERS


You are viewing our site as an Agent, Switch Your View:
Agent | Broker Reset Filters to Default Back to List10 Ways to Level-Up Your Real Estate Photography
September 14 2022
 When it comes to selling real estate, image is everything.
The quality of your property photographs and 360-degree panoramas matters.
And yet, many real estate agents fail to invest wisely in professional real estate photography.
Or, worse, perhaps they don't invest at all.
The truth is, real estate photography is not as easy as it might seem, and a lot is at stake when it comes to the quality of these images.
Great photos and 3D virtual tours will help a real estate agent sell more properties, sell them faster, uphold a higher standard of branding and marketing, and get more listings in the future.
Bad images, on the other hand, get you nowhere.
If you are a real estate agent, make sure you know what is required to make a high-quality real estate photo or 3D virtual tour.
Don't resign yourself to putting out amateurish images just because you don't have access to specialized software or super high-end camera gear. While those things help, believe it or not, you can still get your real estate photographs to look more professional with some thought and patience.
Here are 10 tips to distinguish professional-level real estate photography and 3D virtual tours from amateur jobs:
1. Make Sure Your Horizon Line Is Level
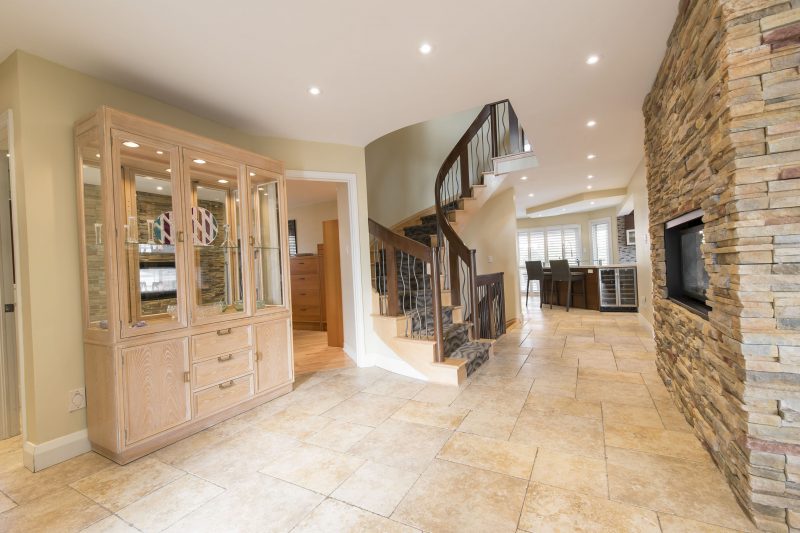
Make sure your horizon line (also known as eye level) is perfectly horizontal and level in your pictures.
If the horizon line is crooked, your photograph will seem unbalanced and distorted.
If you fail to level your horizon line, your audience will subconsciously think there is something wrong with your photograph. This is because as human beings, we have a natural built-in auto-correct in our brains so that horizons will always seem horizontal and level when we look at a room.
While it might not be noticeable at first, crooked lines can cause a person to intuitively dislike your photograph.
UNLEVELED
LEVELED
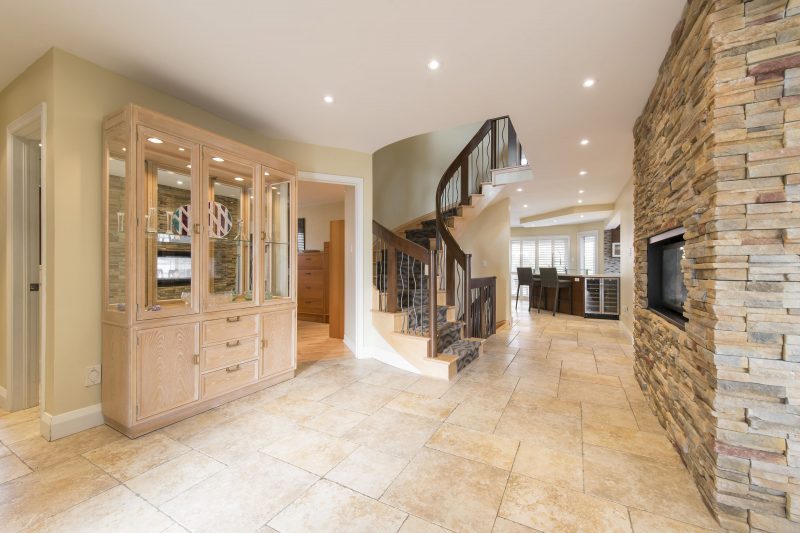
Think about it: when we hang pictures on the wall, we make sure they are level and straight. We intuitively feel like there is something wrong if the picture is hanging askew.
Making sure your real estate photograph or 360° panorama is horizontally level is a basic step towards taking more professional-looking images.
Here are two easy ways to make sure your horizons are level:
A) LEVEL YOUR CAMERA
By far, the easiest thing to do is to make sure your camera is level when shooting your photo.
By leveling the camera, you can be certain that the horizon will be close to perfect.
There are many economically priced spirit levels you can put on top of your camera to make sure it is level before you shoot.
Some tripods and cameras even have built-in levels.
B) ROTATE IN POST-PROCESSING SOFTWARE
If, for whatever reason, you neglected to make sure your camera was level during your shoot, you can always straighten the horizon later, during the editing process.
Almost any basic photo editing software will allow you to rotate your image so that the horizon levels up.
Rotate by eye, or use a grid to assist you.
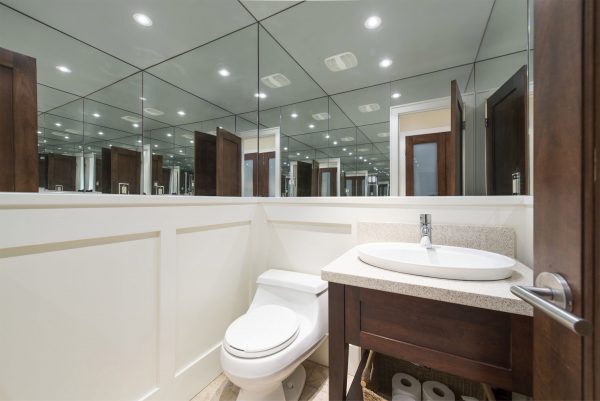
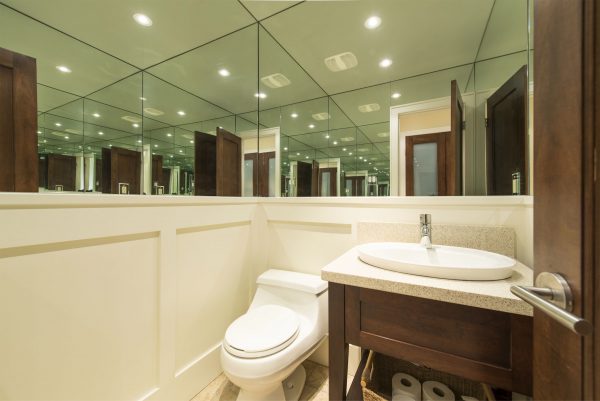
2. Correct Your Vertical Lines
Now that we have addressed the issue of crooked horizontal lines, let's talk about vertical lines.
Tilting the camera slightly up or down will cause the vertical lines in your image to converge.
For a more professional looking image, be mindful and make sure your vertical lines are 100% perfectly vertical.
Crooked vertical lines are more noticeable in still images than 360° panoramas, but the effect is still noticeable.
Angled Down
Level
Angled Up
Here are two ways you can make sure your vertical lines are straight:
A) LEVEL YOUR CAMERA
Once again, ensure your lines are straight by making sure your camera is level. Use a spirit level if you have to.
It is advisable to use a tripod to make sure your camera is level, unless you have very steady hands.
B) TRANSFORM THE IMAGE IN POST-PROCESSING SOFTWARE
Fixing vertical lines in post-processing is a little tricky, but here is a method that will work using any image editing software, including Adobe Photoshop and Lightroom.
First, rotate the image so that a vertical line in the center of the image is as vertical as you can get it.
Then, use the Transform tool to warp the image so that all the vertical lines on the edge of the frame are also vertical. This may cause areas of the image to have no data, so these areas will have to be filled or cropped.
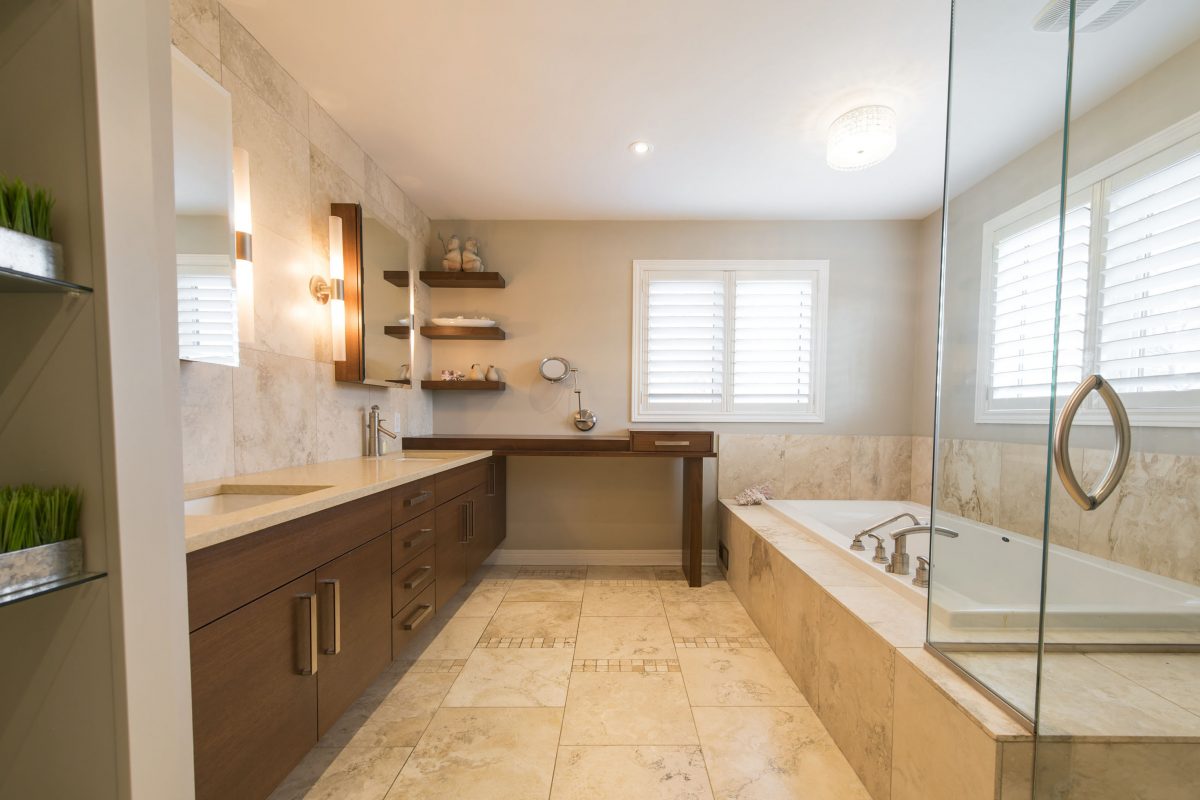
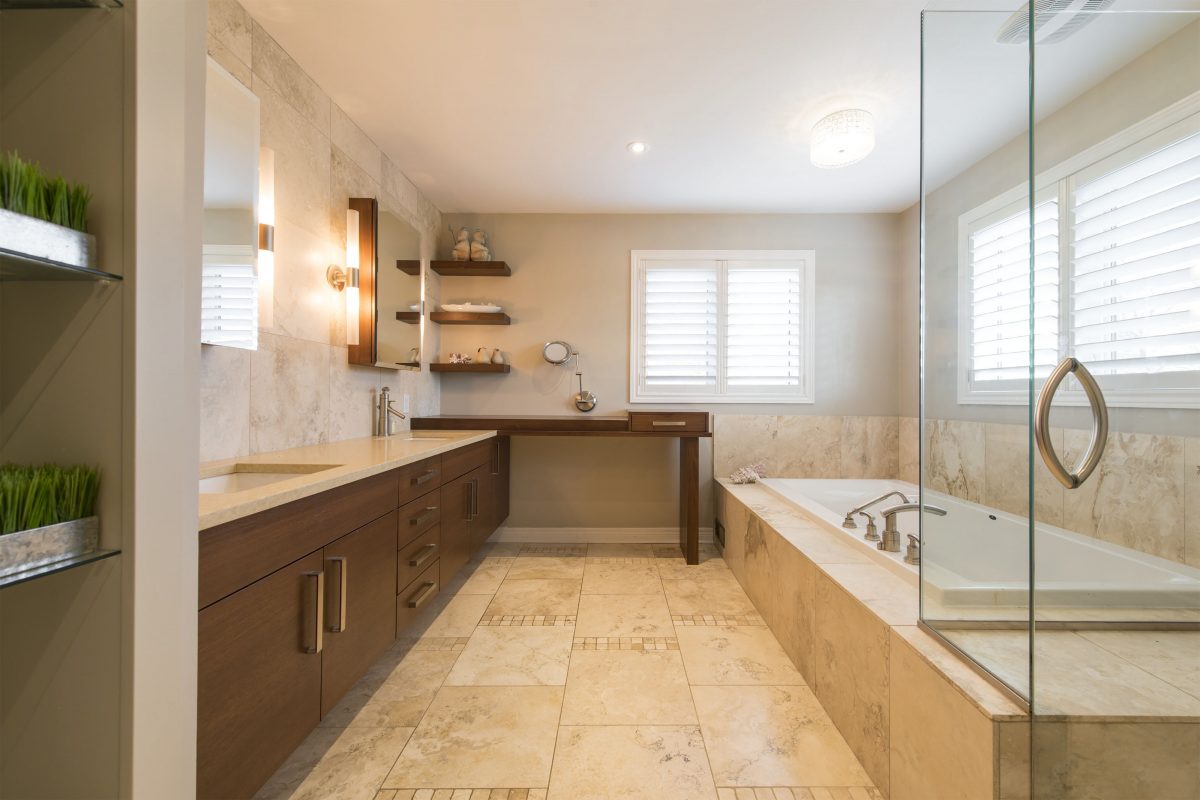
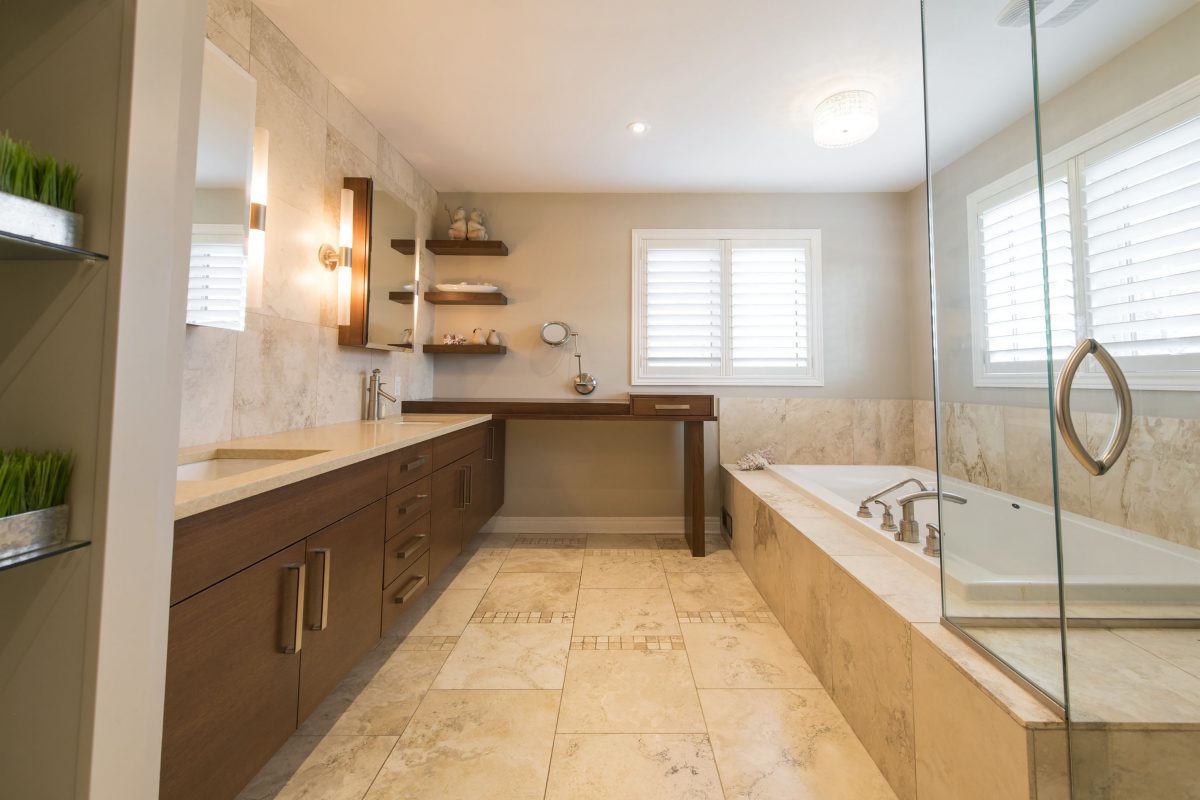
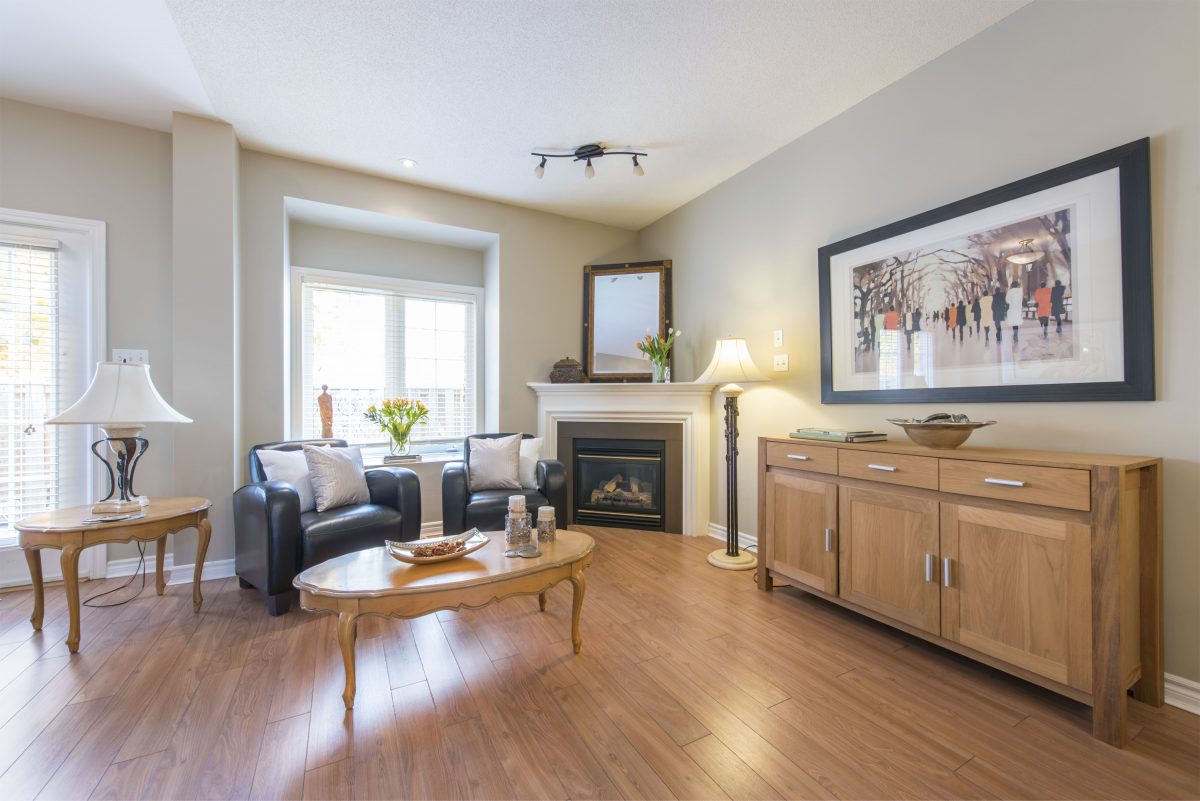
3. Achieve Even Exposure
A prominent characteristic of a professionally shot image is even exposure.
What this means is that the image will appear to be consistently and evenly lit, with no areas of extreme shadow or brightness.
Even exposure is achieved artificially, but it creates a natural effect, because the human eye and brain automatically adjust to perceive rooms as more evenly lit than they are. So the goal of the real estate photographer is to recreate this effect as much as possible, so that things feel authentic in the photograph.
Think about it: when we hang pictures on the wall, we make sure they are level and straight. We intuitively feel like there is something wrong if the picture is hanging askew.
Making sure your real estate photograph or 360° panorama is horizontally level is a basic step towards taking more professional-looking images.
Here are three ways you can achieve an even exposure in your real estate photography:
A) SHOOT IN RAW
Your camera can capture more data than what is visible in the images it captures.
This extra data can be recovered with post-processing software, by making shadows brighter and highlights darker.
Be warned, however, that there is a limit to how much data from these areas can be recovered, so this strategy may not work in every circumstance.
B) SHOOT HDR (HIGH DYNAMIC RANGE)
Shooting HDR, or High Dynamic Range, is a technique where you would capture multiple images of the same room, at varying exposures, and then combine these images to recreate a final image that has even exposure.
C) ADD LIGHT BY USING A FLASH
Using a flash will add light to the dark areas of your photo subject and reduce the difference between the bright and dark areas of the photo, for the desired effect of even exposure.
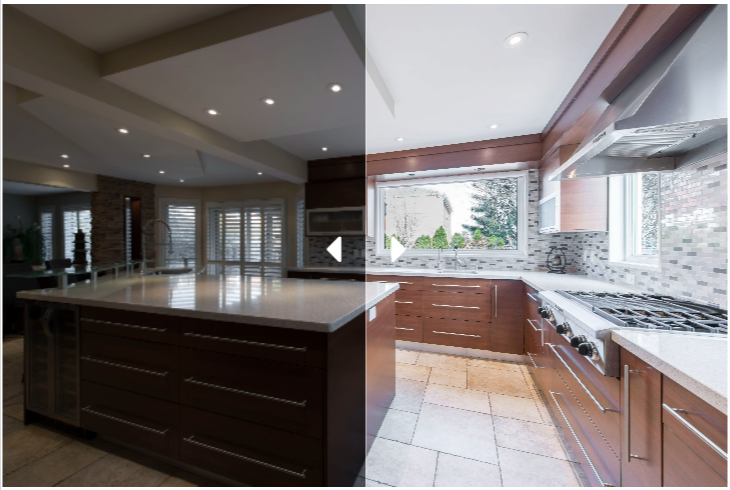
4. Attractive White Balance and Color
Sometimes, objects that appear white in "real life" do not appear white in your photograph.
White balance corrects this.
The appearance of color in an image is highly subjective, and can be influenced by the device that captures the image.
Ideally, as a general rule, the colors in your real estate images should be close to what you see in real life.
TOO COOL
BALANCED
TOO WARM
Here are two ways to get the white balance and colors right in your real estate photography:
A) ADJUST WHITE BALANCE IN CAMERA
Most cameras will automatically choose a white balance that is acceptable, and they usually do an accurate job.
In any case, you can work around white balance issues by shooting RAW images because the white balance can be changed later in post processing with no ill effects.
However, when shooting in JPG format, it's important to closely monitor the results achieved with automatic white balance, and manually intervene if required.
There is less data in a JPG image, so the ability to adjust white balance later is reduced.
This is usually done by selecting a preset white balance setting or by choosing specific temperature settings in your camera.
B) ADJUST WHITE BALANCE IN POST-PROCESSING
Adjusting white balance in post-processing can be achieved by using an Eyedropper tool, temperature and tint sliders, or by selecting an automatic adjustment.
Be prepared for some trial and error to get the white balance right using these methods.
White balance doesn't always have to be accurate. If an image has very warm lighting, it may be easier to change the colors so that it doesn't distract from the rest of the images by looking out of place.
5. Correct Lens Distortion and Vignetting
The lens in your camera is a circular piece of glass that stretches light into a rectangle.
This often leads to a slight circular distortion around the edges of your photo frame. In some cases, this distortion can be more dramatic, and quite jarring.
In real estate photographs, this distortion is particularly unnerving, as it can result in curved walls or bent vertical lines – all of which are distracting to look at.
Similarly, vignetting, or light fall-off, will sometimes occur at the corners of the frame.
Here are two ways to fix lens distortion and remove vignettes:
A) REMOVE AUTOMATICALLY IN CAMERA
Your camera may remove distortion and vignettes automatically when shooting in JPG mode. Check your camera's menu and adjust your settings if this option is available to you.
B) REMOVE IN POST-PROCESSING
In most situations, you can correct lens distortion and vignetting in Photoshop or Light Room. If your lens doesn't have an automatic profile, you can do it manually and apply the same manual adjustment to all your subsequent images.
6. Remove Color Fringing
Color fringing is the occurrence of magenta or green-colored lines that outline the border between light and dark in high contrast areas.
This distracting effect typically happens around the edges of bright windows.

Here are two easy ways to fix color fringing:
A) REMOVE AUTOMATICALLY IN CAMERA
Once again, when shooting JPGs, you may be able to have this undesired effect removed automatically within your camera. Set up your camera to remove it by finding the option in your camera's settings menu.
B) REMOVE IN POST-PROCESSING
You can automatically remove color fringing for most lenses, using Photoshop or Lightroom.
If the automatic results are not to your liking, you can do it manually to any image.
WITH FRINGING

WITHOUT FRINGING

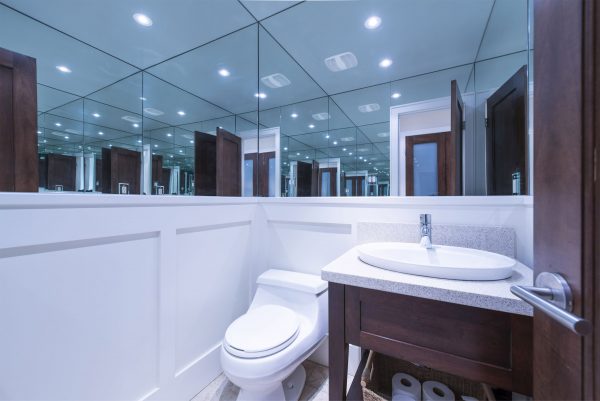
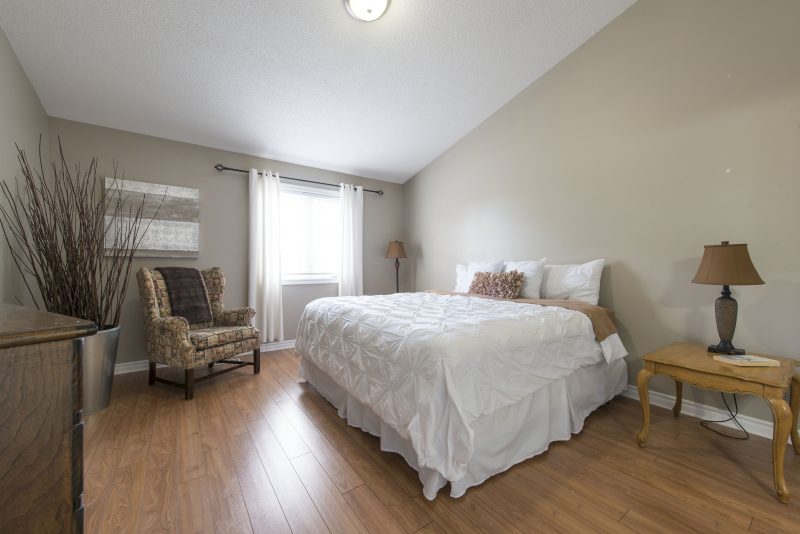
7. Choose Your Camera Angles Carefully
Be mindful and put some thought into the camera angles.
Every property will have unique challenges when choosing what angles work best, but as a general rule of thumb, the easiest camera angles that yield consistent results are shot from corner to corner.
THINK ABOUT WHAT ANGLES WORK BEST
Shooting a room from corner to corner yields a few advantages:
- You will be able to show more of the space in one photo, enabling you to communicate more with fewer images.
- Leading lines will draw the viewer into the image.
- Shooting this way makes it easy to get vertical lines vertical and a level horizon.
An alternative way of capturing the space is to think of it like a grid. However, this is a more challenging approach, as it requires vertical and horizontal lines to be perfectly aligned.
With this approach, your camera needs to be level and squared to the wall. If it is even just a few degrees off, the photos will look off.
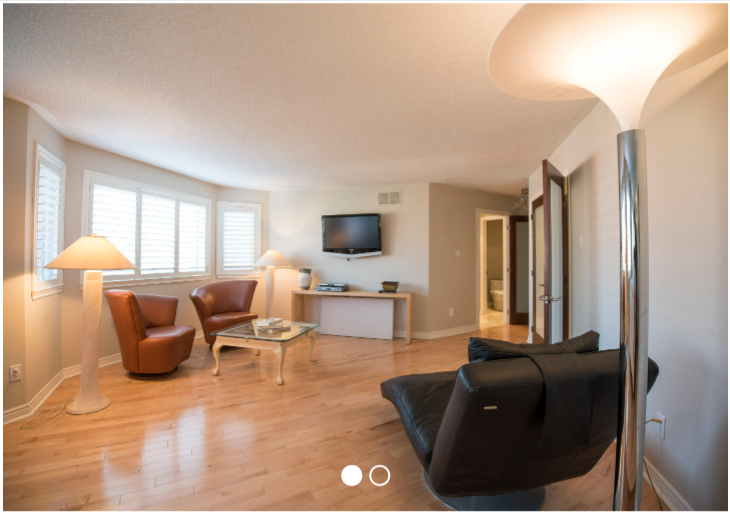
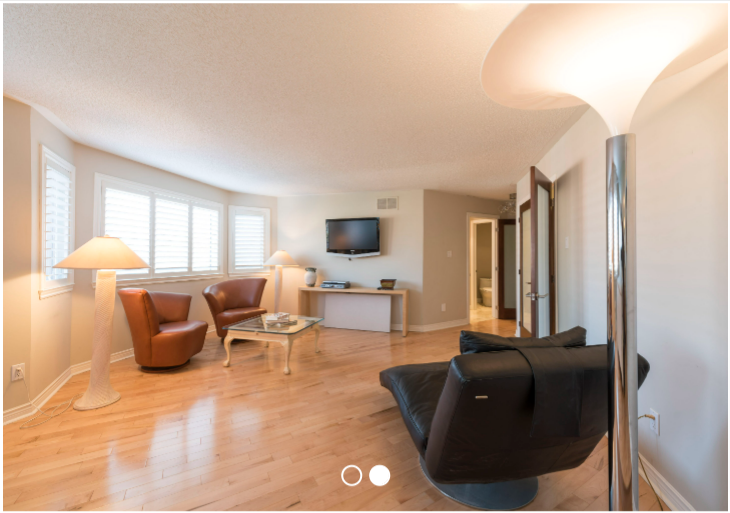
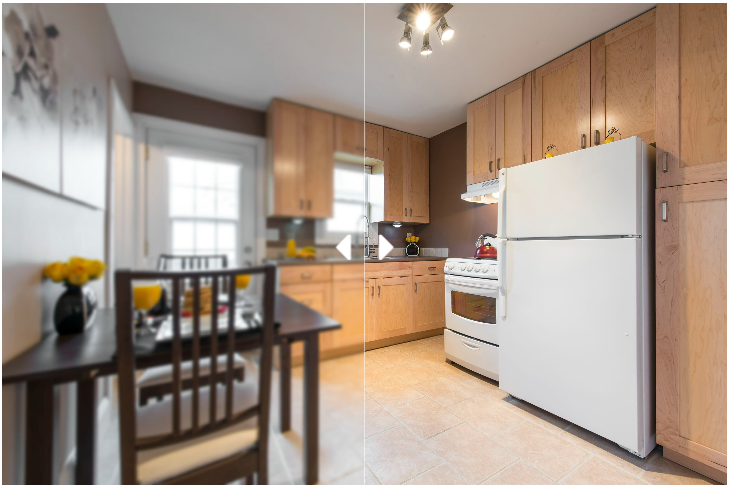
8. Use a Wide Angle Field of View
Using the wrong lens to take your real estate photograph is a telltale sign you're not a professional.
The typical field of view for a professional real estate photograph is 90 degrees or greater.
STANDARD LENS

WIDE ANGLE LENS
A wide field of view makes it possible to show more of the room in a single photo than would normally be possible with a typical camera.
This can only be achieved by using an ultra-wide or wide angle lens that can meet or exceed a 90-degree field of view.
9. Stay in Focus
At the risk of spelling out the obvious, make sure your real estate photos are in focus!
Not only does having an out-of-focus image not represent the room you are trying to showcase well, it reflects poorly on the brand of you as a real estate agent. It implies laziness and a lack of professionalism and care.
Keep in mind that focus is subjective to a point, depending on the size of the screen and the viewer's distance from the screen.
Ensuring that you have captured the sharpest image possible will help you down the line, should you wish to enlarge and/or crop the image.
Having a crisp image to begin with means you won't have to worry about losing focus if you need to recompose the picture in post-processing.
Here are a few easy ways to avoid having fuzzy pictures:
- Use a tripod
- Set your camera to refuse to shoot if the subject is not in focus
- Set your camera to exposure delay
- Set your camera to single point auto focus.
10. Practice Good Composition
We've discussed extensively on how to take a great photograph.
However, it's important to acknowledge that what you photograph is just as important as how the photograph is taken. Every image should tell a story.
When you are getting ready to shoot, think about what reaction or thoughts you want your audience to have upon viewing your image. What features of the property are you trying to highlight? What aspects of the space are you trying to convey in a positive light? Why are you even taking this photo?
Make sure to capture a scene that identifies the space. Carefully frame your shot to avoid cutting off objects. Each shot should feel complete and self-explanatory.
Real estate photographs that look like they were shot by a professional photographer sell more properties, and sell them quicker. Amateurish shots will hurt a real estate agent's bottom line. With just some extra thought and care, you can take your real estate photography to the next level!
To view the original article, visit the iGuide blog.